I love our expansive, sun-filled kitchen. There’s plenty of room for all my dishes and cooking gear. But that awful, grey vinyl tiling was getting me down. I had already painted my bathroom floor, so I knew I could do it. I used porch and floor paint from my local hardware store as i knew the finish would be durable and lasting. Here’s what the kitchen looked like before any floor paint began to fly.
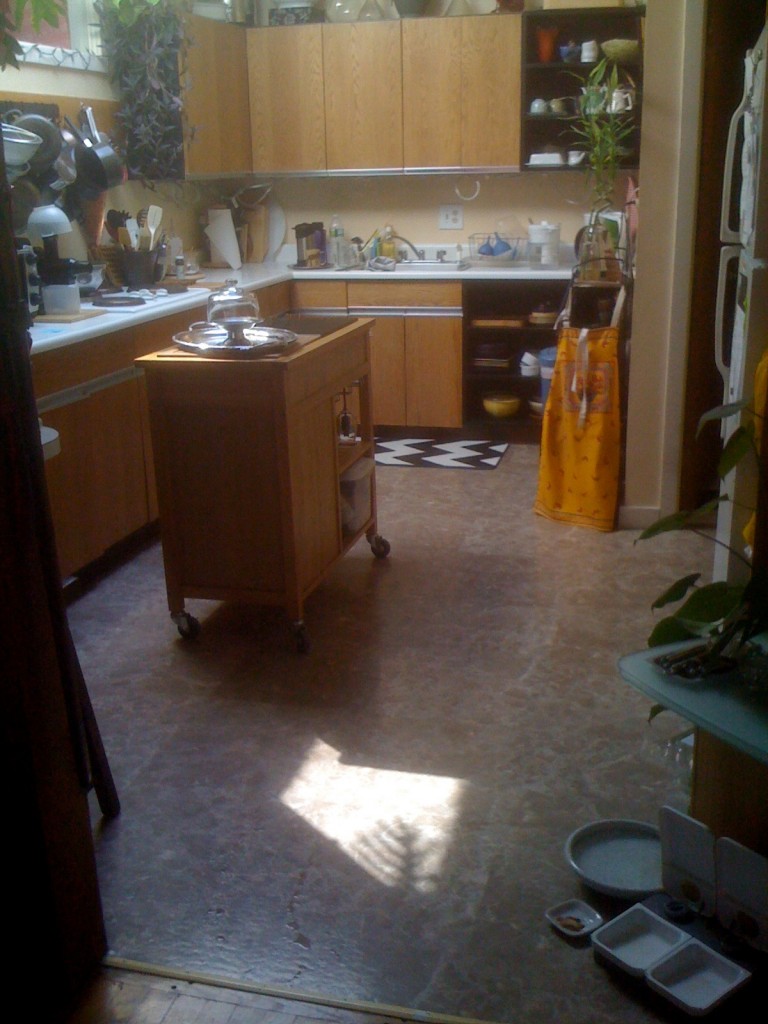
Kitchen Floor Before:
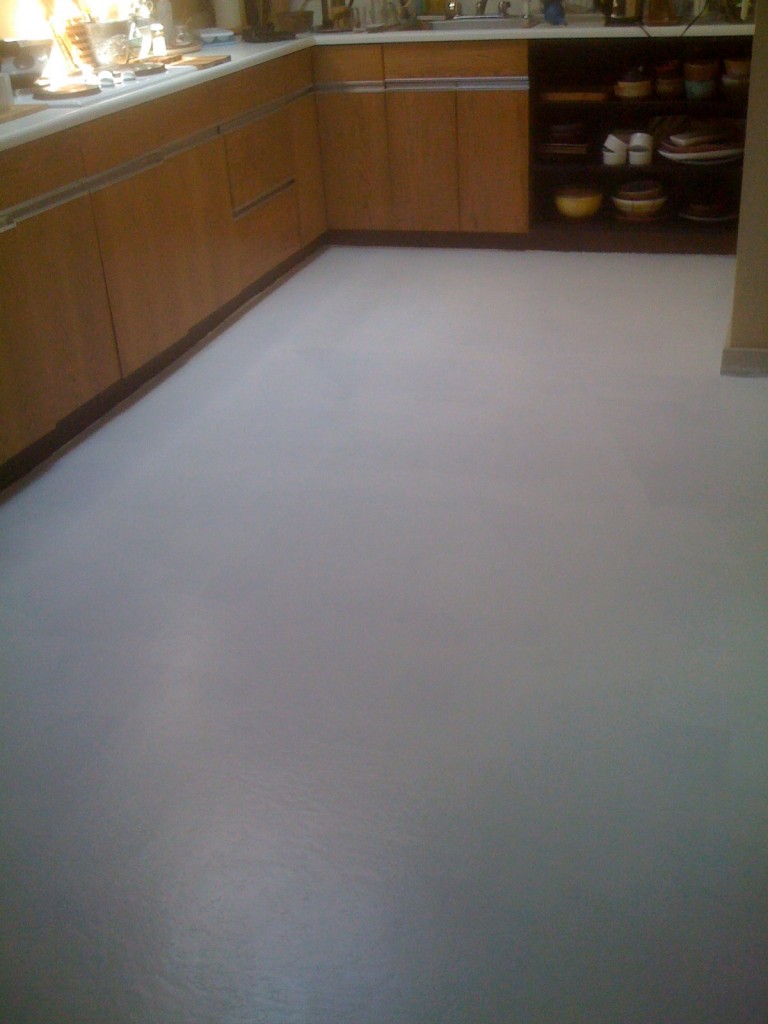
 The old floor was a giant roll of old vinyl in a hideous grey speckle tone. I could never ‘see’ the dirt and hated that gross feeling. I wanted a fresh look.
Step 1 Preparing the old vinyl: I sanded the vinyl floor tiles with a 180 Ct sandpaper. After sanding I vacuumed the whole area.
Step 2 Creating tooth on the old vinyl: I deglossed the vinyl floor with a deglosser liquid. This is is a somewhat caustic process, so be sure to wear protective eye wear, gloves, and be sure the area in which you are working is well ventilated. I had floor fans running the whole time and opened all the apartment windows. The deglosser is applied with a clean cloth and removes any gloss finish the sandpaper didn’t get. Steps 1 & 2 creates the ‘tooth’ from your old vinyl tiles and prepares the surface to accept the new primer and paint.
Step 3 Painting prep: I used painter’s tape and taped off the areas I didn’t want the paint to adhere to. You know around the kick board and edges where the old vinyl met the wood floor.
Step 4 Priming the vinyl: Primer is then applied. I used 2 coats and laid each coat on somewhat thinly. It took about 45 minutes between each coat to dry. Check the label on your printer and follow those steps. The primer is an important step that prepares the vinyl surface for painting. I used disposable sponge paint brushes, however you could use a roller or traditional brush.
Step 5 White base coat: Since I wanted black and white squares, I next painted on the white base color, over the primer. This time I used a disposable sponge brush and a small roller. The white paint took 2 coats and I allowed 45 minutes between coats for drying.
Step 6 Creating the black squares: Taping off the squares was the most time consuming process. I followed the old tiles, as my guide, and have to admit, I needed to pull out my old T-Square to get all the squares ‘squared’. Then, I taped ‘off’ the tiles I wanted to maintain the white color.
Step 7 Painting the black squares: Next I applied the black paint with another disposable sponge brush. In order to get the density of black I desired, I applied 2 coats of black, put floor fans pointing directly onto the drying paint and waited 30 minutes between coats. After the second coat of black paint went down, I waited another 30 minutes, more fans, then pulled up the painting tape.
That is all that is needed. Except I did go in with a small paint brush and touched-up a couple of areas where the black paint had seeped under the painters tape.
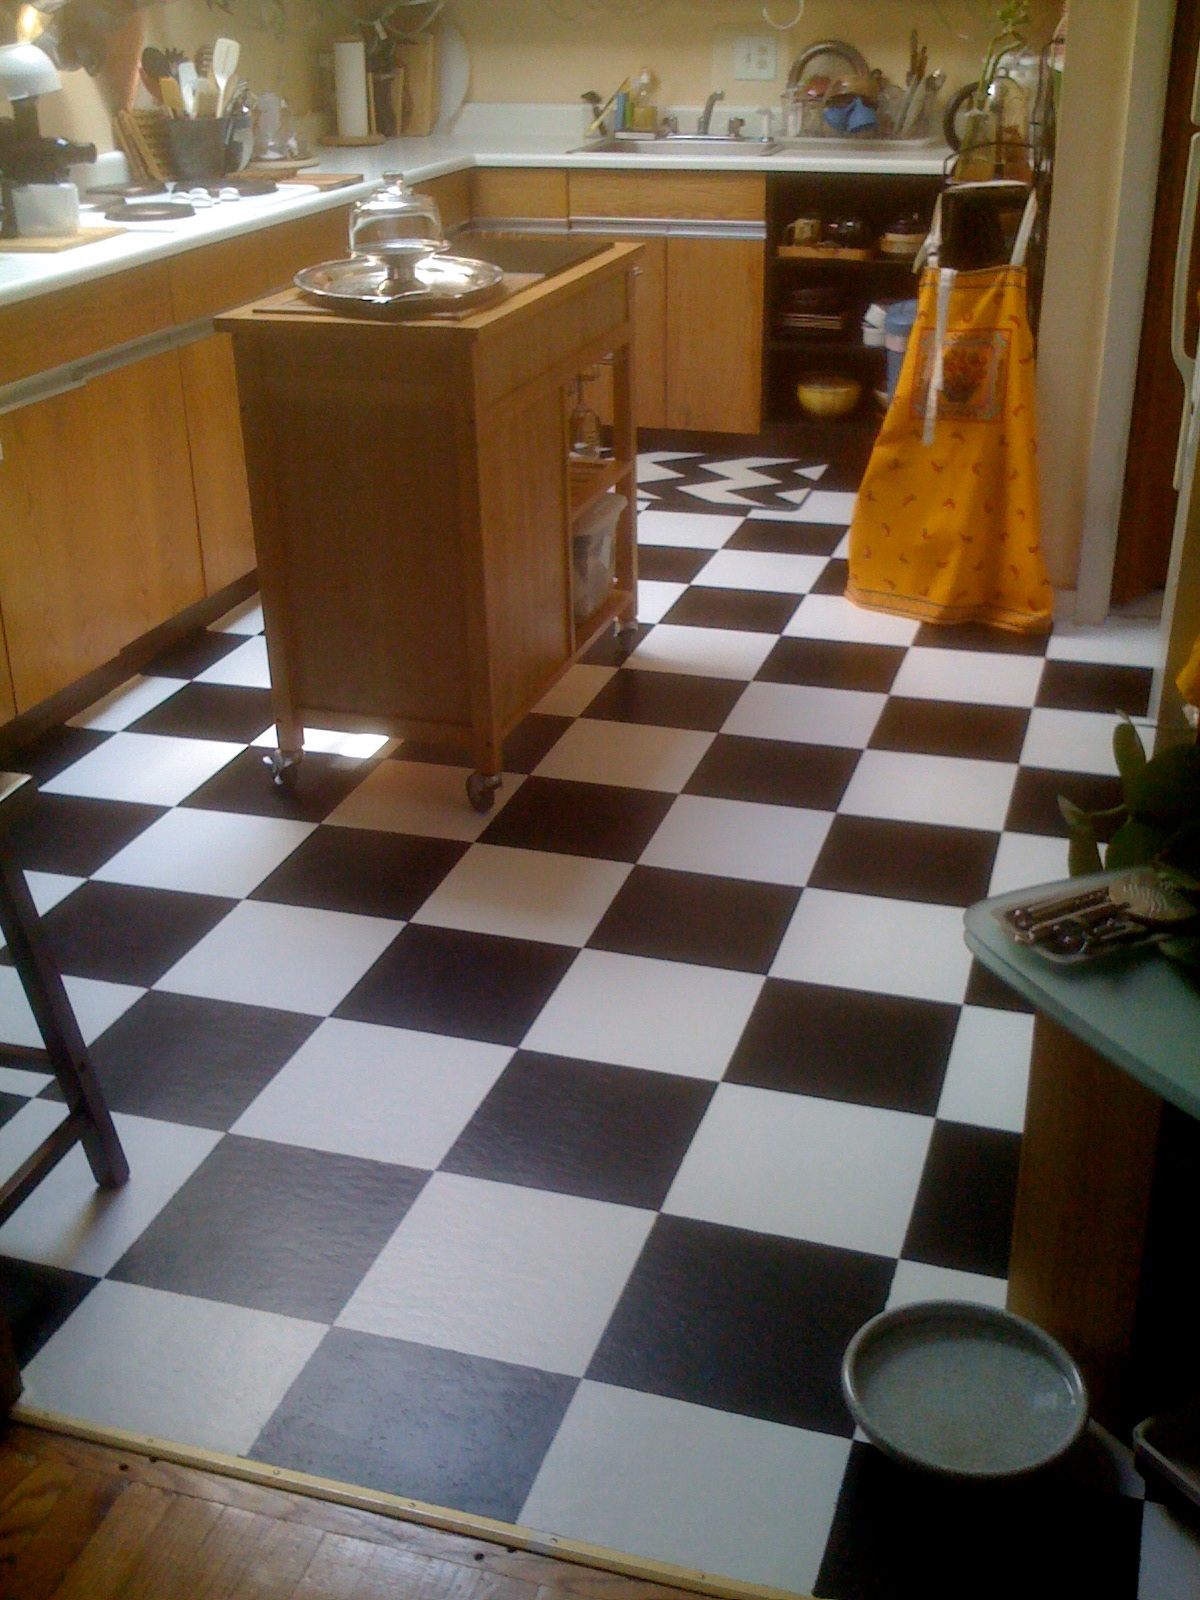
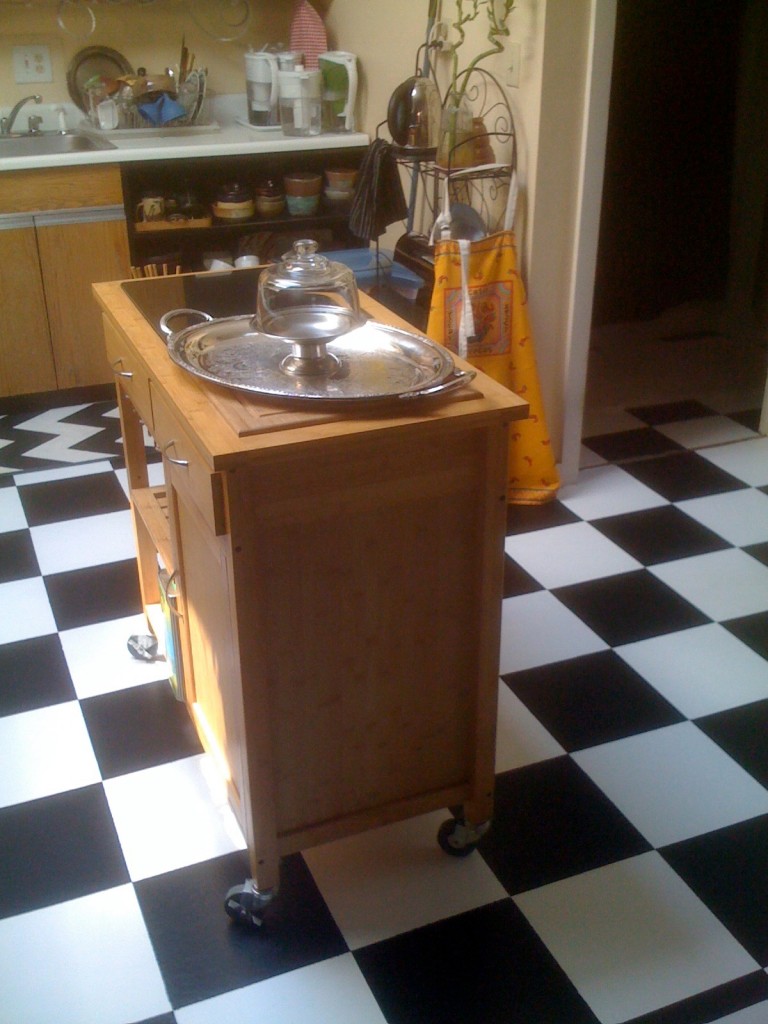
After:


