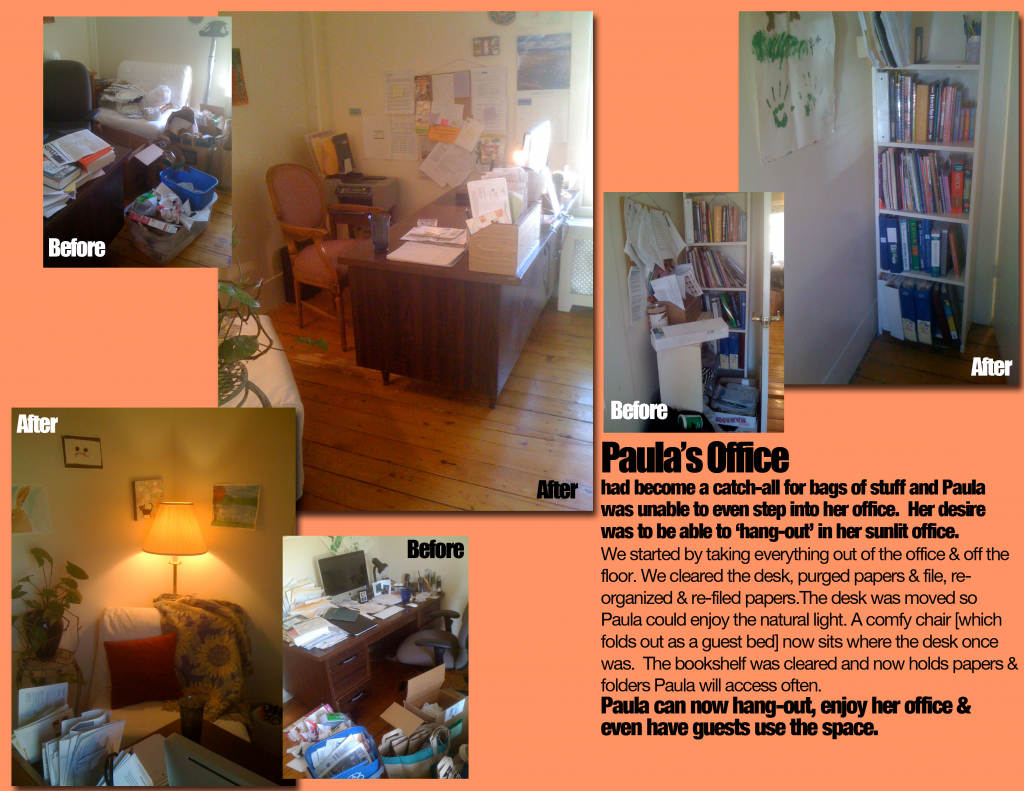
Recently I assisted Paula in the beginnings of her home office makeover. As with many busy professionals Paula’s office had become a clutter of stuff in bags, items not being used and of which now accumulated on Paula’s office floor. There are still deeper purging that needs to be done and new systems to be created. However, the process has begun and Paula can now hang-out and enjoy her office space.
Design
How Ziggy Stardust Opened My Eyes
 Way back in the days of Ziggy Stardust, I stood on the floor of the Coliseum in Madison, Wisconsin awaiting David Bowie’s appearance on stage. As we all lingered, Mr. Bowie toyed with us by showing a short clip of the 1929 movie: Un Chien Andalou. I innocently watched this black and white film.
For this who don’t know the storyline, I highly recommend watching this short 40 second film and see Luis Bunuel and Salvador Dali’s most famous scene. Spoiler alert, short as this is, it is NOT for the squeamish and these images could follow you for life. As a young Midwestern gal, I was completely unprepared for what Ziggy was sharing with us. The packed arena groaned at the end of this film. I guess I wasn’t the only one caught off guard.
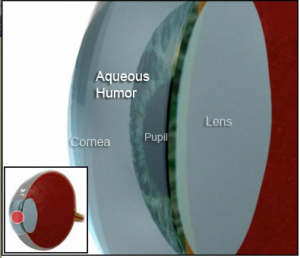 Now, these many, many years later, Ziggy’s sense of humor [or whatever sensation Mr. Bowie was attempting to teach us] has changed to an aqueous one. For those uninitated to the schematics of our eyes, aqueous humor is basically the fluid that flows in our eyes and also in simple terms maintains the intraocular pressure and inflates the globes of our eyes amongst its many other functions. But how does aqueous humor impact me this week?
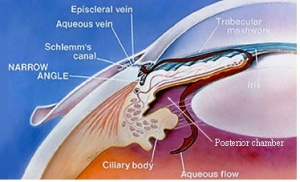
Well, it has to do with the narrow angles of my eyes. Without boring you, the space between my cornea and the iris of my eye has narrowed. This, in my Ophthalmologist’s world is called: Narrow Angles, Closed Angle or Angle-Closure Glaucoma and leads me to be at a high risk for glaucoma. Fun times [I’m being sarcastic, for those who don’t know me well]. Have a look for yourself, in the image below.
Which means, I’m having some surgery today, wherein the Ophthalmologist will be using a laser to blast a very fine hole into my eye…more precisely my iris. They tell me my eye will be numbed, a sort of contact lens inserted and the laser will blast into my eye.
The whole procedure will go something like this short video.
Being a visual designer I’m actually-as many of us I’m sure are- very in love with my vision, so having this type of procedure done to my eye has given me the very same hibbie-jeebies that David Bowie’s pre-concert flick gave me those-oh, so many years ago. Only this time, it’s happening to me. And adding to the drama, today’s procedure only involves my right eye. I get to enjoy the fun all over again, with my left eye, in two weeks.
Now maybe my Ophthalmologist didn’t want to freak me out, so he only told me the basics of this procedure. His nurse called me and gave me more details and when I signed consent papers she gave me a very basic handout describing the surgery. I went out and researched the above medical video, which brought up those crazy, eye-slitting images Ziggy Stardust embedded in my half-baked, pre-concert brain decades ago.
So, I’ll let the aqueous humor [hee, hee] help me deal with the fears I have leading up to today’s action plan. After my appointment, I’m planning on laying low, administering my steroid eyedrops and hoping for the best. Maybe I’ll even listen to Five Years from my favorite Glam Rocker as I psych up to do this all over again with my left eye. We’ve got five years, stuck on my eyes…
My Right Eye Before: My Right Eye After: Upload to follow
Oh, and BTW that ‘little prick’ you’ll feel-as the Dr. explained-felt more like an industrial, automatic nail gun piercing thru my iris.
DIY: Painting Old Vinyl Floor Tiles
Ever since I painted my old kitchen rug with bold chevron stripes, I’ve been thinking about painting my vinyl bathroom floor tiles. So, I gave it a go and it turned out even better than I thought. Note: I used porch and floor paint from my local hardware store so as to have a durable finish that will withstand the traffic the floor will be receiving and the whole process cost: $75 along with 6 hours of my time [not including the final drying which was an additional 8 hours, overnight]. We were able to walk on the entire floor 30 minutes after the final coat of paint. I waited the entire 8 hours before putting anything down onto the newly painted floor.
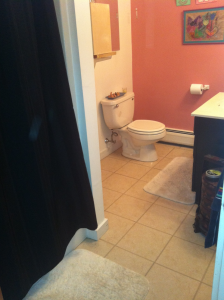
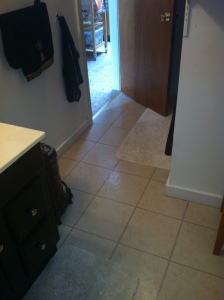
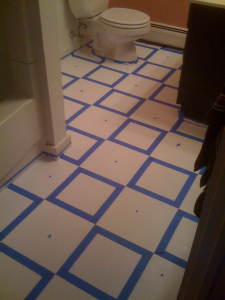
Bathroom Vinyl Tiles Before:
Here is what the bathroom floor looked like before. This vinyl floor tile was laid directly over old linoleum and the job was, well, let’s just say, did not appear to be completely professional. Added to that, the old, tired swirly pattern in a dull beige…and I think you can start to get the picture.
Step 1 Preparing the old vinyl: I sanded the vinyl floor tiles with a 180 Ct sandpaper. After sanding I vacuumed the whole area.
Step 2 Creating tooth on the old vinyl: I deglossed the vinyl floor with a deglosser liquid. This is is a somewhat caustic process, so be sure to wear protective eye wear, gloves, and be sure the area in which you are working is well ventilated. I had the overhead fan on the whole time and had another portable fan pulling fresh air into the bathroom. The deglosser is applied with a clean cloth and removes any gloss finish the sandpaper didn’t get. Steps 1 & 2 creates the ‘tooth’ from your old vinyl tiles and prepares the surface to accept the new primer and paint.
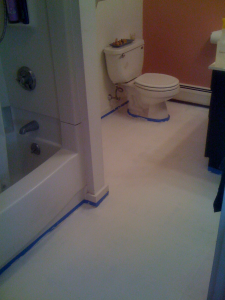
Step 3 Painting prep: I used painter’s tape and taped off the areas I didn’t want the paint to adhere to.
Step 4 Priming the vinyl: Primer is then applied. I used 2 coats and laid each coat on somewhat thinly. It took about 45 minutes between each coat to dry. Check the label on your printer and follow those steps. The primer is an important step that prepares the vinyl surface for painting. I used disposable sponge paint brushes, however you could use a roller or traditional brush.
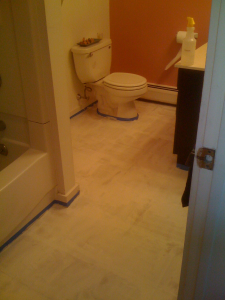
Step 5 White base coat: Since I wanted black and white squares, I next painted on the white base color, over the primer. This time I used a disposable sponge brush and a small roller. The white paint took 2 coats and I allowed 45 minutes between coats for drying.
Step 6 Creating the black squares: Taping off the squares was the most time consuming process. I followed the old tiles, as my guide, and taped off the tiles I wanted to maintain the white color.
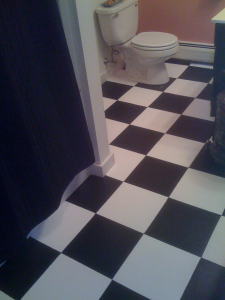
Step 7 Painting the black squares: Next I applied the black paint with another disposable sponge brush. In order to get the density of black I desired, I applied 2 coats of black, waiting 30 minutes between coats. After the second coat of black paint went down, I waited another 30 minutes, then pulled up the painting tape.
That is all that is needed. Except I did go in with a small paint brush and touched-up a couple of areas where the black paint had seeped under the painters tape.
One last time: Painting over vinyl tiles.
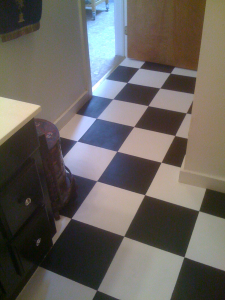
Before After
The whole bathroom appears bigger, cleaner and the eye is fooled into thinking these are actual tiles, when I just painted over the old vinyl floor tiles.
PodCampWM#4 Mobile Marketing Presentation
At PodCamp Western Mass #4 I presented a session on Mobile Marketing. Download a copy of my presentation at SlideShare here. Or scan any of these QR codes in your smartphone or tablet device. Please share any comments or thoughts you might have.
And, if all this isn’t enough, check out this interesting application for QR codes. Thinking beyond the computer screen and how the QR code can be an instructional design tool.
A Tiny Story About the Fundamentals of Storytelling
I’ll let this tiny video speak for itself. Remember; storytelling is an increasingly important part of successful design.
Tiny Story from Sebas & Clim on Vimeo.
Design Happens: Desktop Cable Manager
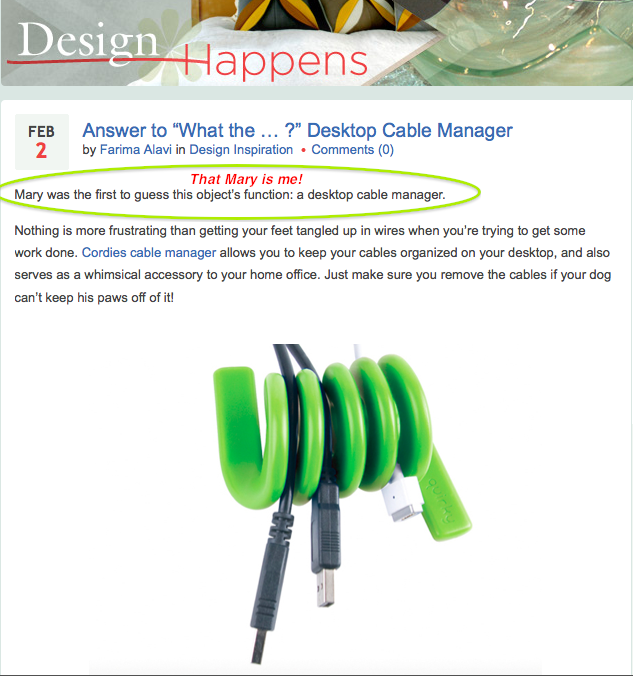
I could use about a million of these gizmos, so it was the first thing I thought this might be when I spied it in one of my favorite design blogs- Design Happens’ weekly quiz: What the ….? I guess it is the organizer in me that loves order on my desktops.
